
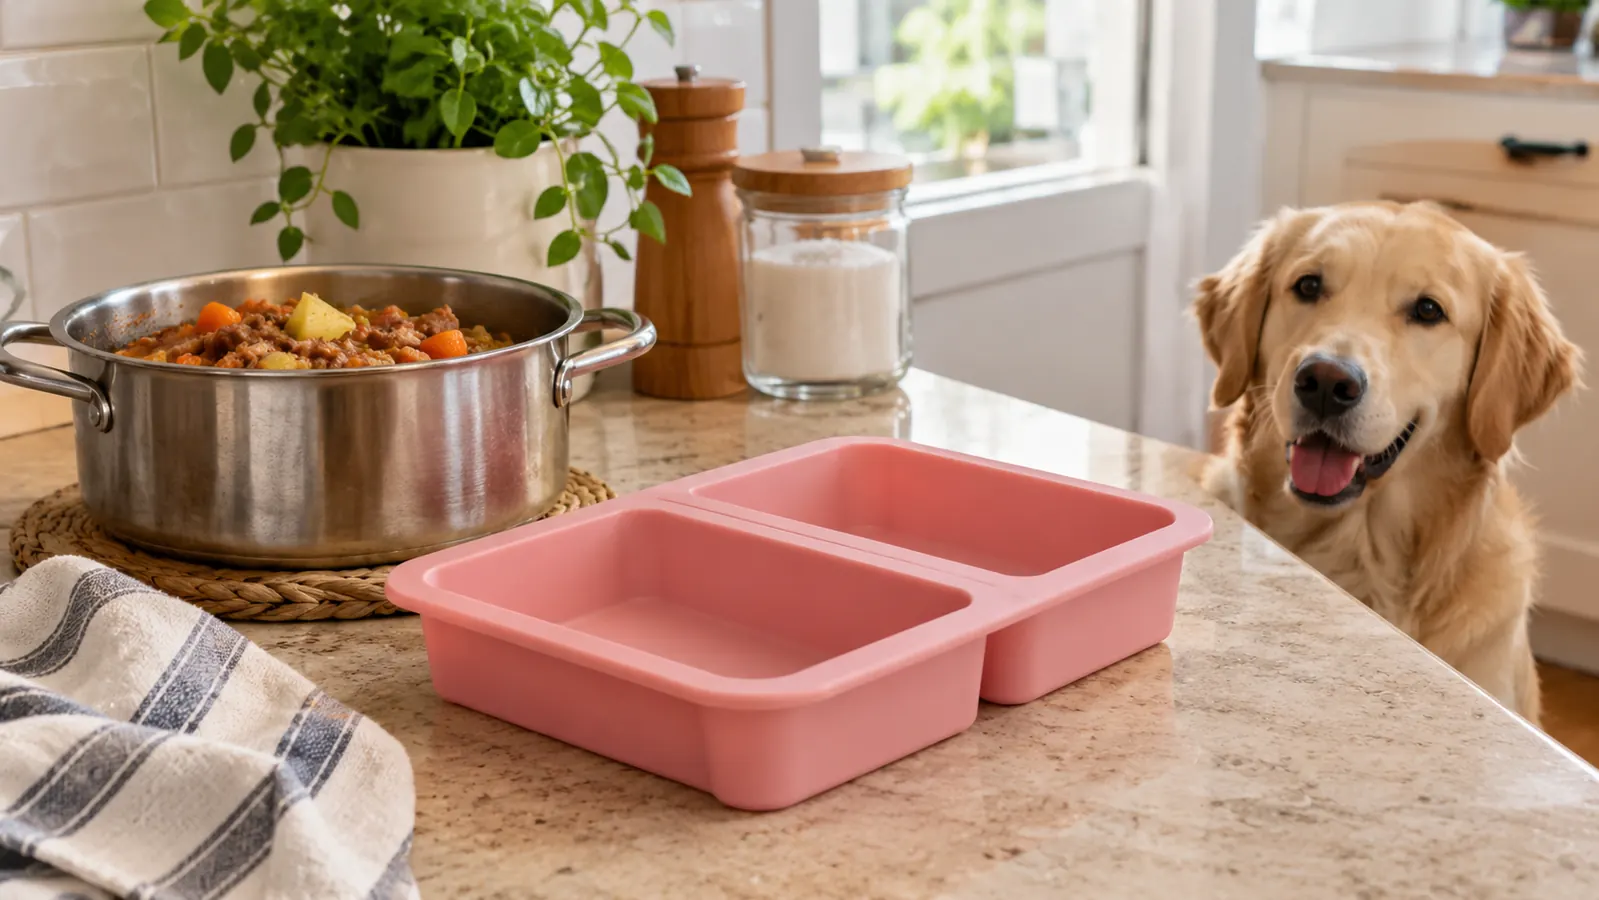
Every Sunday afternoon, my kitchen turns into a small batch kitchen. I cook for Biscuit, my 9-year-old beagle mix, because he has a sensitive stomach and a habit of walking away from kibble. For a long time, the cooking was not the hard part. The portioning was. I would make a big pot of chicken, rice, and vegetables, let it cool, and then stand at the counter trying to divide it into single servings by eye. Some portions came out too big, some too small, and by Thursday I was guessing whether the container I grabbed would last through the weekend. I tried deli containers, zip bags, even an old muffin tin. Everything worked, and nothing worked well.
The fix came from a tool I already owned. I had been using a Xomoo silicone freezer tray, the 2-cup size with a lid, for soups and stews for months. One afternoon I looked at the tray, then at the pot of food cooling on the stove, and realized I had been using the right tool for the wrong food. The tray has two large cavities, each marked at 250ml and 500ml, and the clear silicone lid seals tightly enough to be leak-proof. That is exactly the kind of portion control Biscuit's meals needed. The whole process takes me about ten minutes on a Sunday, and I have not gone back to guessing since. Here is how I do it, start to finish.
Four Perfect Portions in About Ten Minutes
The Xomoo silicone freezer tray turns a Sunday batch cook into a quick portioning job. Two large cavities per tray, measurement marks on the side, and a leak-proof lid that keeps smells in the freezer. Check today's price on Amazon.
Amazon Check Today's Price on Amazon →Why a Silicone Tray Instead of Containers or Bags
Before this tray, my freezer was a tower of mismatched containers. Round deli tubs do not stack well. Zip bags lie flat, but you cannot fill them without a funnel and a prayer. And every single method left me with the same problem: I could not tell how much food was in anything without opening it.
The Xomoo tray solves the part that actually matters, which is the portion. Each cavity is a fixed size with marks on the side, so the food is measured before it freezes, not after. The silicone flexes, so the frozen block comes out clean instead of needing hot water and a butter knife. And because the tray is rectangular, it uses freezer space efficiently. I keep one tray in the freezer and one on the counter, and the two of them make four 500ml portions per batch.
Step 1: Cool the Food Completely Before You Portion It
However good the tray is, it cannot fix food that goes into the freezer too warm. Hot food raises the temperature inside the freezer, which makes the compressor work harder and, more importantly, can push the surrounding food into the danger zone. I learned this working in a school cafeteria: temperature control is the whole game. The same rules apply to a home freezer, just on a smaller scale.
Here is what I do. After the pot comes off the stove, I set it on a cooling rack for about thirty minutes, then transfer the food to a shallow pan so it cools faster, stirring now and then. When it is no more than warm to the touch, I move it to the refrigerator until it is fully chilled. Then I portion. The tray itself is silicone and rated to 428°F, so heat is not a problem for the tray. The problem is food quality. Food that goes into the freezer warm develops large ice crystals, and large ice crystals mean mushy texture and flavor loss when you thaw it.
Chilled food also fills the cavities more cleanly. Warm food thins out and sloshes; cold food holds its shape, so the portions come out even. If you are batch cooking on a Sunday like I do, the cool-down time is a good moment to wash the other dishes, so it does not feel like wasted time.
Step 2: Check the Portion Size With Your Vet, Then Use the Marks
Before I tell you what Biscuit eats, the honest part: portion size depends on the recipe, your dog's weight, age, and activity level, and a homemade diet should always be checked with your veterinarian. I am not a vet. I am a retired cafeteria manager who cooks for a picky beagle. What I can tell you is how the tray helps once you and your vet have your number.
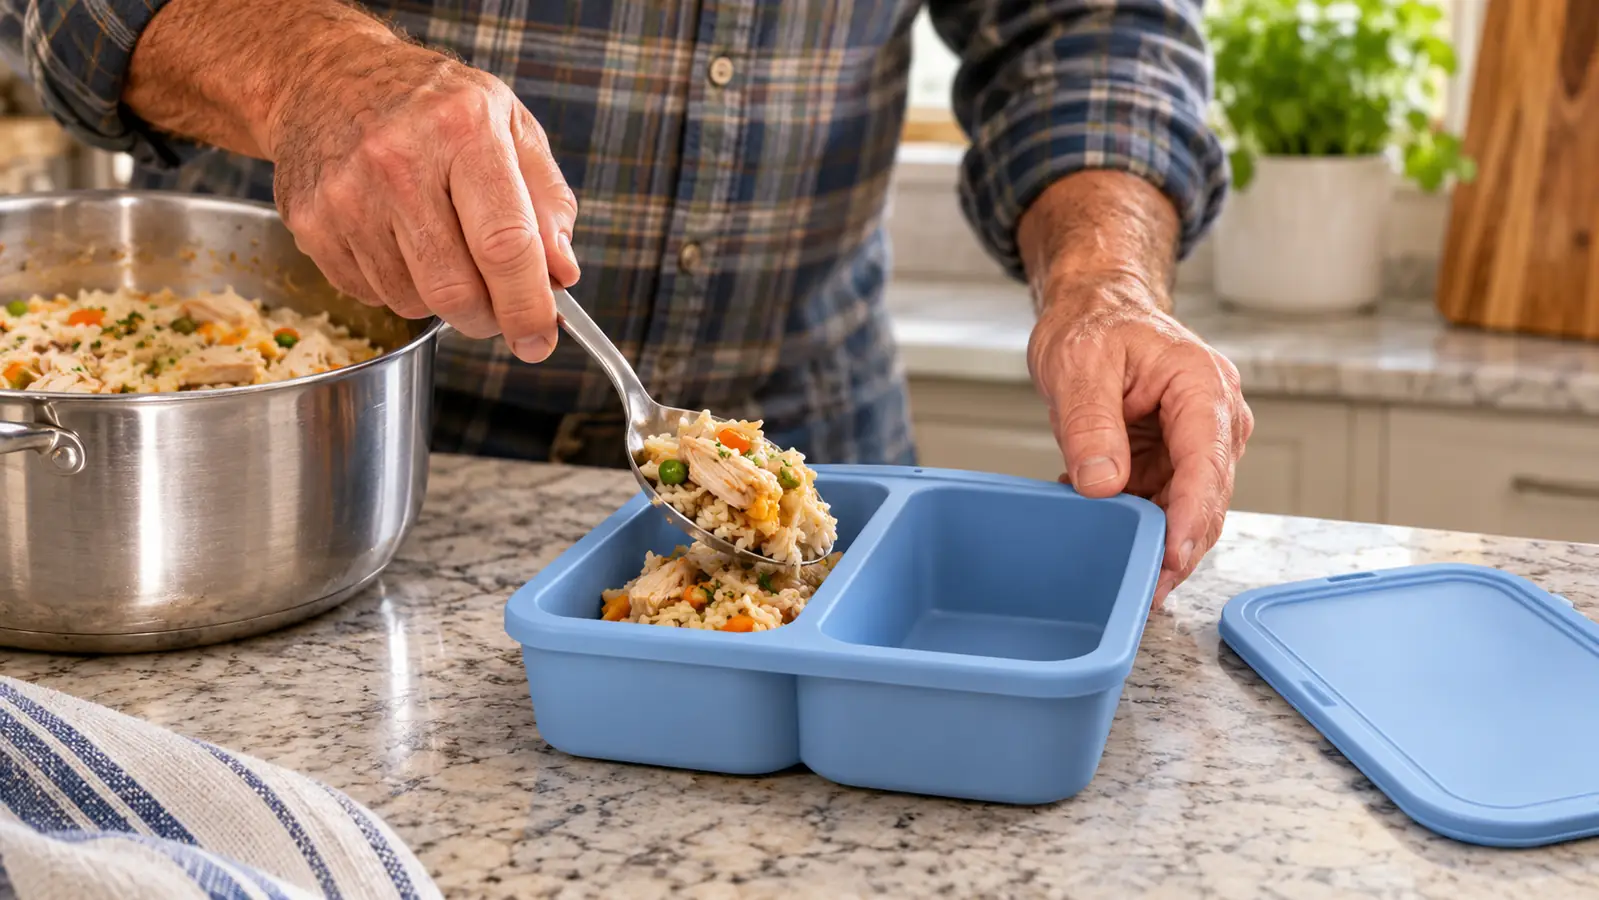
For Biscuit, who weighs about 28 pounds, the vet and I settled on roughly two cups of cooked food a day, split into two meals. That is exactly one full cavity of the Xomoo tray, which holds 500ml, or about two cups. So one cavity is one day of food. When I want smaller meals, the 250ml mark on the side gives me a clean half portion without any weighing. When he was recovering from a stomach upset, the vet suggested smaller, more frequent meals, and the 250ml line made that easy too.
The marks matter more than you would think. When I portioned by eye, a half portion could be anywhere from a scoop to a mountain. Now I fill to the line and stop. The tray is rectangular, so it sits flat in the freezer and the portions come out as neat blocks that are easy to stack. I write the portion size on the label in permanent marker, so I do not have to remember which block is which.
Step 3: Fill the Cavities and Press Out the Air
Use a spoon or a spatula to fill each cavity to the line you need. Then do the step most people skip: press the food down. Air pockets are the enemy of frozen food. Trapped air means freezer burn, and freezer burn means a dry, off-tasting meal that your dog may refuse. Biscuit is a professional at refusing things, so I take this step seriously. It also prevents the other problem with air pockets, which is portions that crumble when you pop them out. A dense block holds together; a loose one falls apart in the bag.
Because the tray is flexible silicone, you can press from the bottom with one hand while you pack with the other, which pushes trapped air up and out. I leave a small gap below the rim because food expands slightly as it freezes. Then I press the lid on. The clear silicone lid seals around the edges and is leak-proof in my experience, which matters for two reasons: it keeps the freezer from smelling like chicken broth, and it lets me stack trays without anything spilling onto the shelf below.
One more thing I learned the hard way: do not overfill. A cavity filled to the very top will bulge when it freezes, and the lid will not sit flat. Fill to the mark, not past it. If you have extra food after the tray is full, that is what the second tray is for, or you can freeze the remainder in a labeled bag for the same week.
Step 4: Freeze Flat, Then Pop the Portions Out
Set the filled tray on a flat surface in the freezer. A rimmed baking sheet works well and makes it easy to slide the tray in and out. Leave it undisturbed until the food is solid, usually overnight. Do not stack anything on top of it while it freezes, or the lid can press into the food and leave an uneven block.
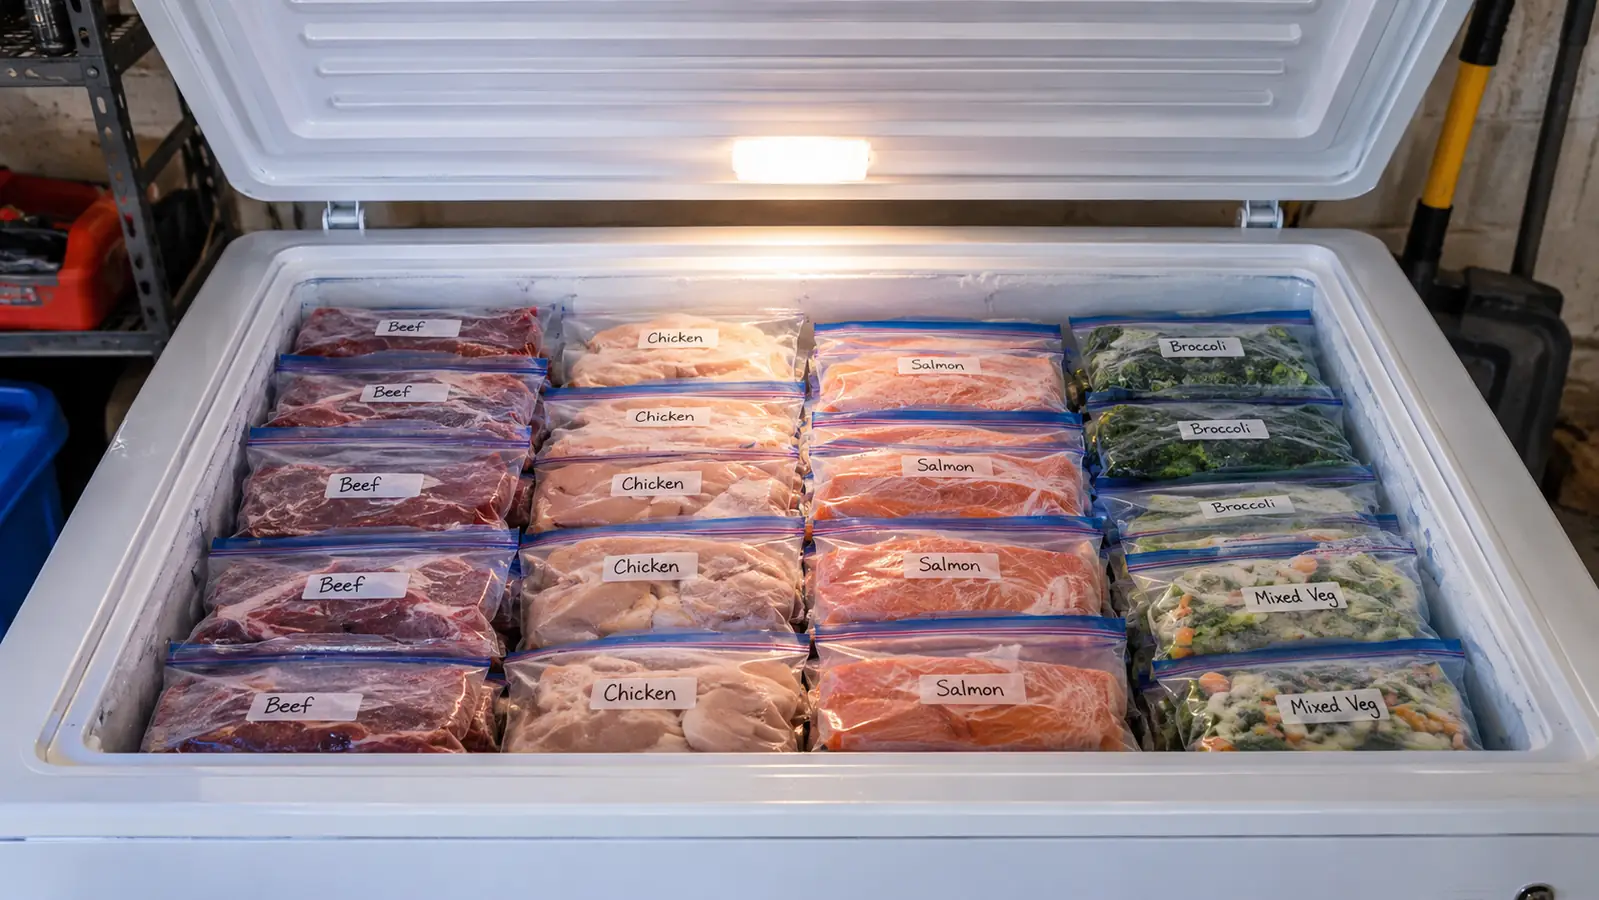
The payoff comes the next day. Silicone releases frozen food better than any rigid container I have used. I flex the tray from the bottom and each block pops out whole, with the measurement marks still visible on the side. Then I wrap each block in a labeled freezer bag and stack the bags in my chest freezer in the garage. The blocks are the same size, so they stack like bricks.
I run two trays, because the pack comes with two. While one tray is in the freezer, the other is on the counter being filled. That gives me four 500ml portions per batch, which is four days of Biscuit's food. On Sunday I cook, portion, and freeze, and the rotation runs itself. If I want a longer supply, I simply cook a double batch and portion it in two rounds.
Step 5: Thaw in the Refrigerator, Not on the Counter
The night before Biscuit needs a meal, I move one frozen block from the chest freezer to the refrigerator. It thaws overnight, and by morning it is ready to serve at room temperature or slightly warm. I never serve it hot, and I do not microwave it. Microwaves heat unevenly, and a hot spot can burn a dog's mouth. Lukewarm is the goal.
If I forget to move a portion, I do not panic and I do not use warm water. I set the sealed bag in a bowl of cold water and change the water once. It thaws in a couple of hours, still safely below the danger zone. I learned that trick in the cafeteria too, and it has saved more than one dinner.
One more habit worth keeping: label everything with the recipe and the date. Homemade food keeps well in a deep freezer for about three months, less in a frost-free freezer that cycles. When I pull a block, I give it a sniff and a look. If it smells off or looks dried out, I toss it. That has happened exactly once in the year I have been doing this, and it was a block I had forgotten to label. Now the label goes on before the bag goes in.
What Else Helps
A few tools make the whole routine easier. A kitchen scale is useful the first time you portion, so you can check that the 500ml mark really matches your target weight for your recipe. A ladle with a lip pours cleanly into the cavities without dripping. Freezer labels and a permanent marker that does not smudge keep the bags readable after months in the chest freezer. None of these are expensive, and most people already own them.
Cleanup is easy because the tray is dishwasher safe, and it is also oven safe up to 428°F, so it does double duty for baking. I put it on the top rack of the dishwasher and it comes out looking new. The lid goes in too. If you hand wash, warm soapy water is all it needs. The silicone is BPA free, and it does not hold onto food smells the way plastic does, which I appreciate after a week of chicken and rice.
Finally, keep a simple log of what you cooked and how your dog did. Biscuit does better with some recipes than others, and a notebook in the kitchen drawer has saved me from repeating a batch that did not agree with him. That, plus the vet's blessing on the plan, is the whole system. The tray is the tool; the routine is what makes it work.
That is the whole method. Cool the food, check the portion with your vet, fill to the line, freeze flat, thaw in the fridge. It sounds simple because it is simple, and simple is what a Sunday routine needs to survive contact with real life. Biscuit agrees, and he is the pickiest eater I have ever fed.
A batch that used to take me an hour to portion now takes about ten minutes, and every block comes out the same size.
Make Next Sunday's Batch the Easy One
The Xomoo 2-cup silicone freezer tray with lid is the tool I reach for every week. Two trays, four 500ml portions, measurement marks on the side, and a leak-proof lid. Check today's price on Amazon.
Amazon Check Today's Price on Amazon →